Install AROYA pH Sensor

How to install the pH Sensor.
The AROYA pH Sensor provides continuous data for Drip or Drain stations. (Other installation types are possible but not covered in this guide.)
Note: Recommended is to calibrate new sensors first, before installation.

What’s in the box
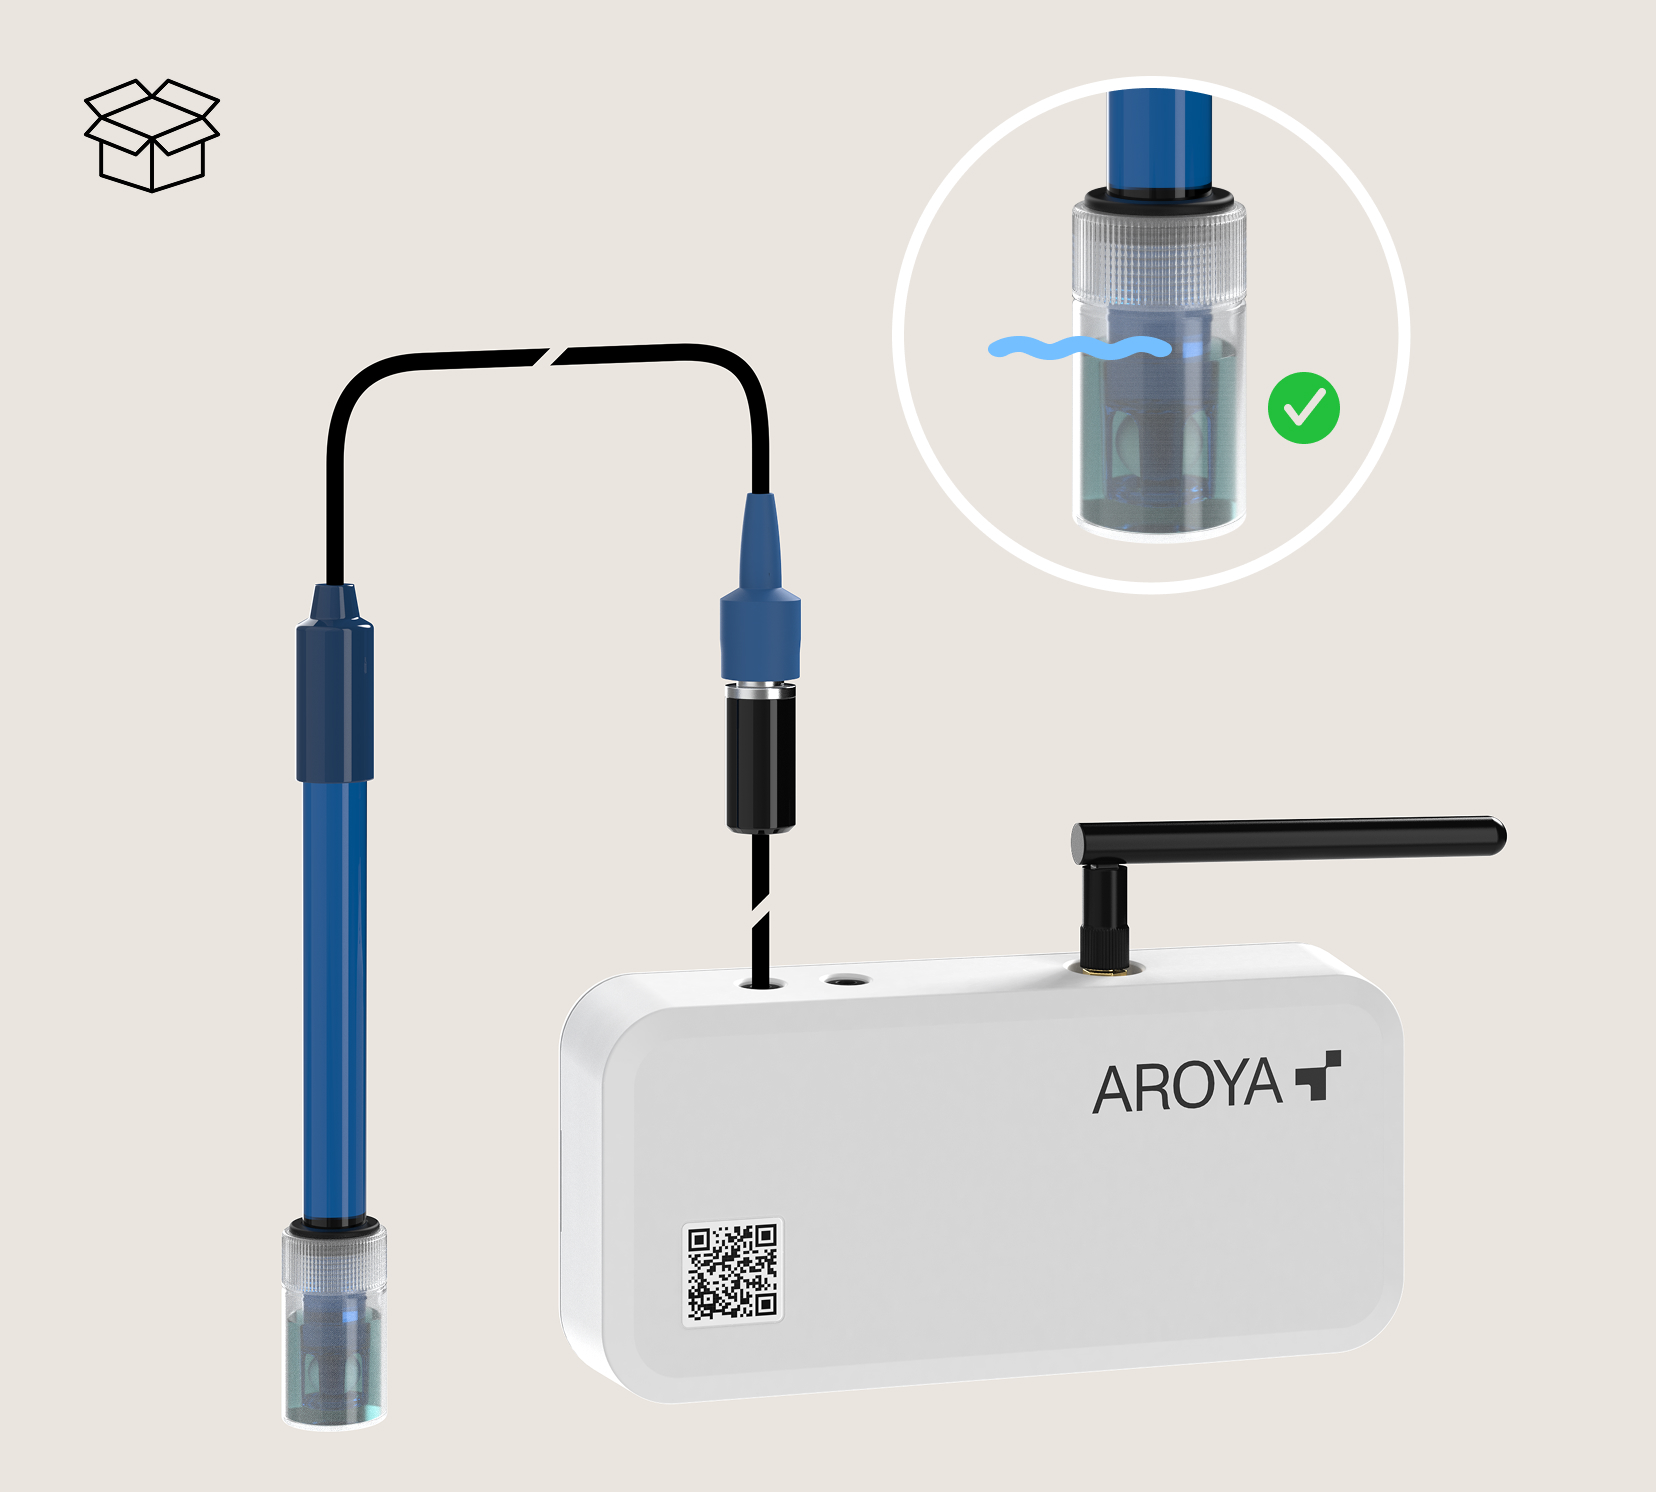
Sensor & 3m Cable. Plugs directly into the Nose.The Probe has a modular design to be replaced easily when depleted.Keep the storage cap; this fluid-filled container comes in handy for future probe storage.
What else you need (Drip/Drain)
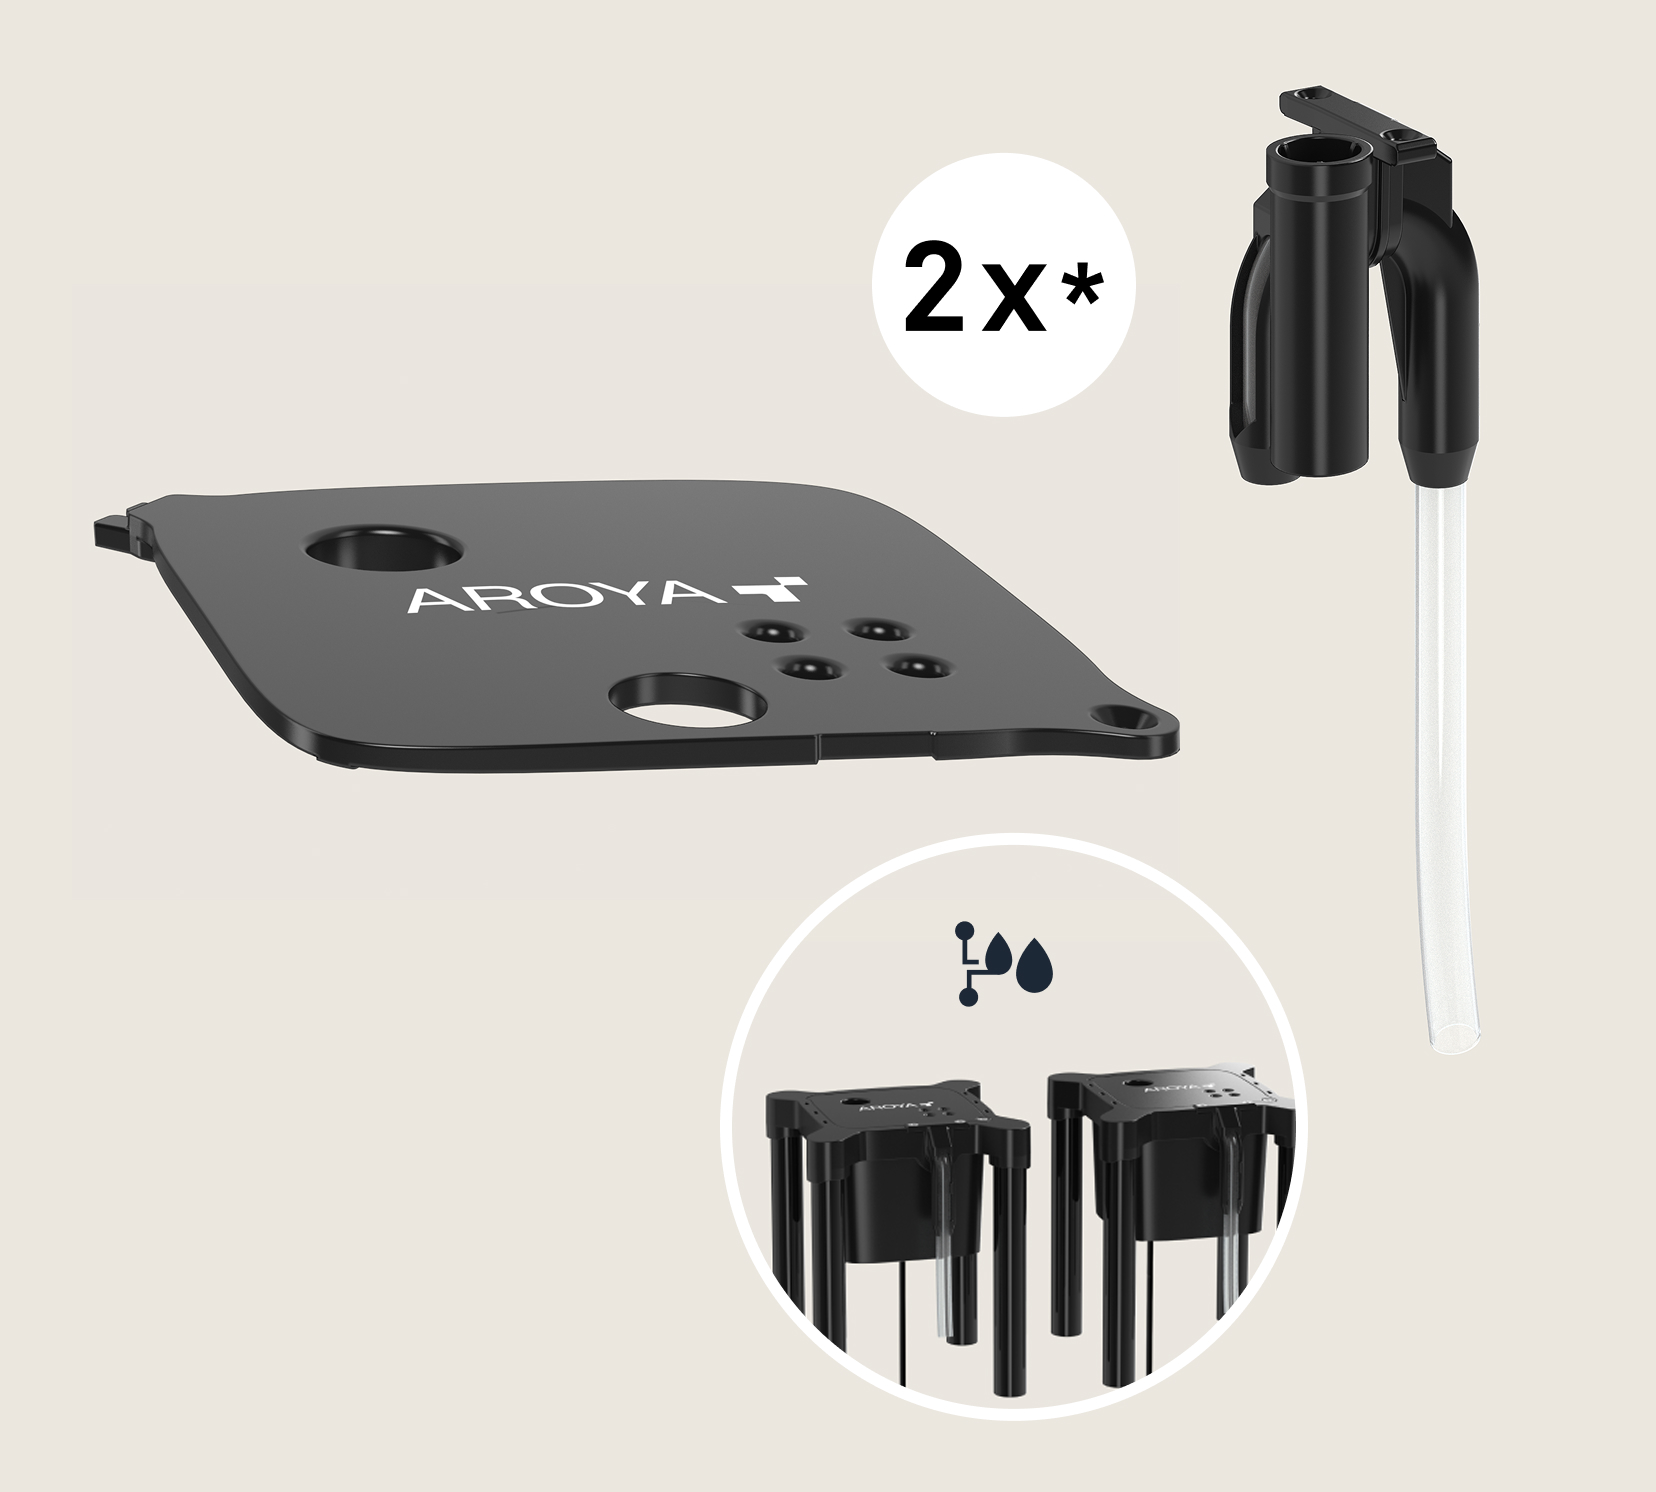
A Drip & Drain station and matching kits are required. These allow you to swap your existing lids and siphons for versions that support the pH sensor. (* Lid appearance may vary by version.)
Step 1: Install pH
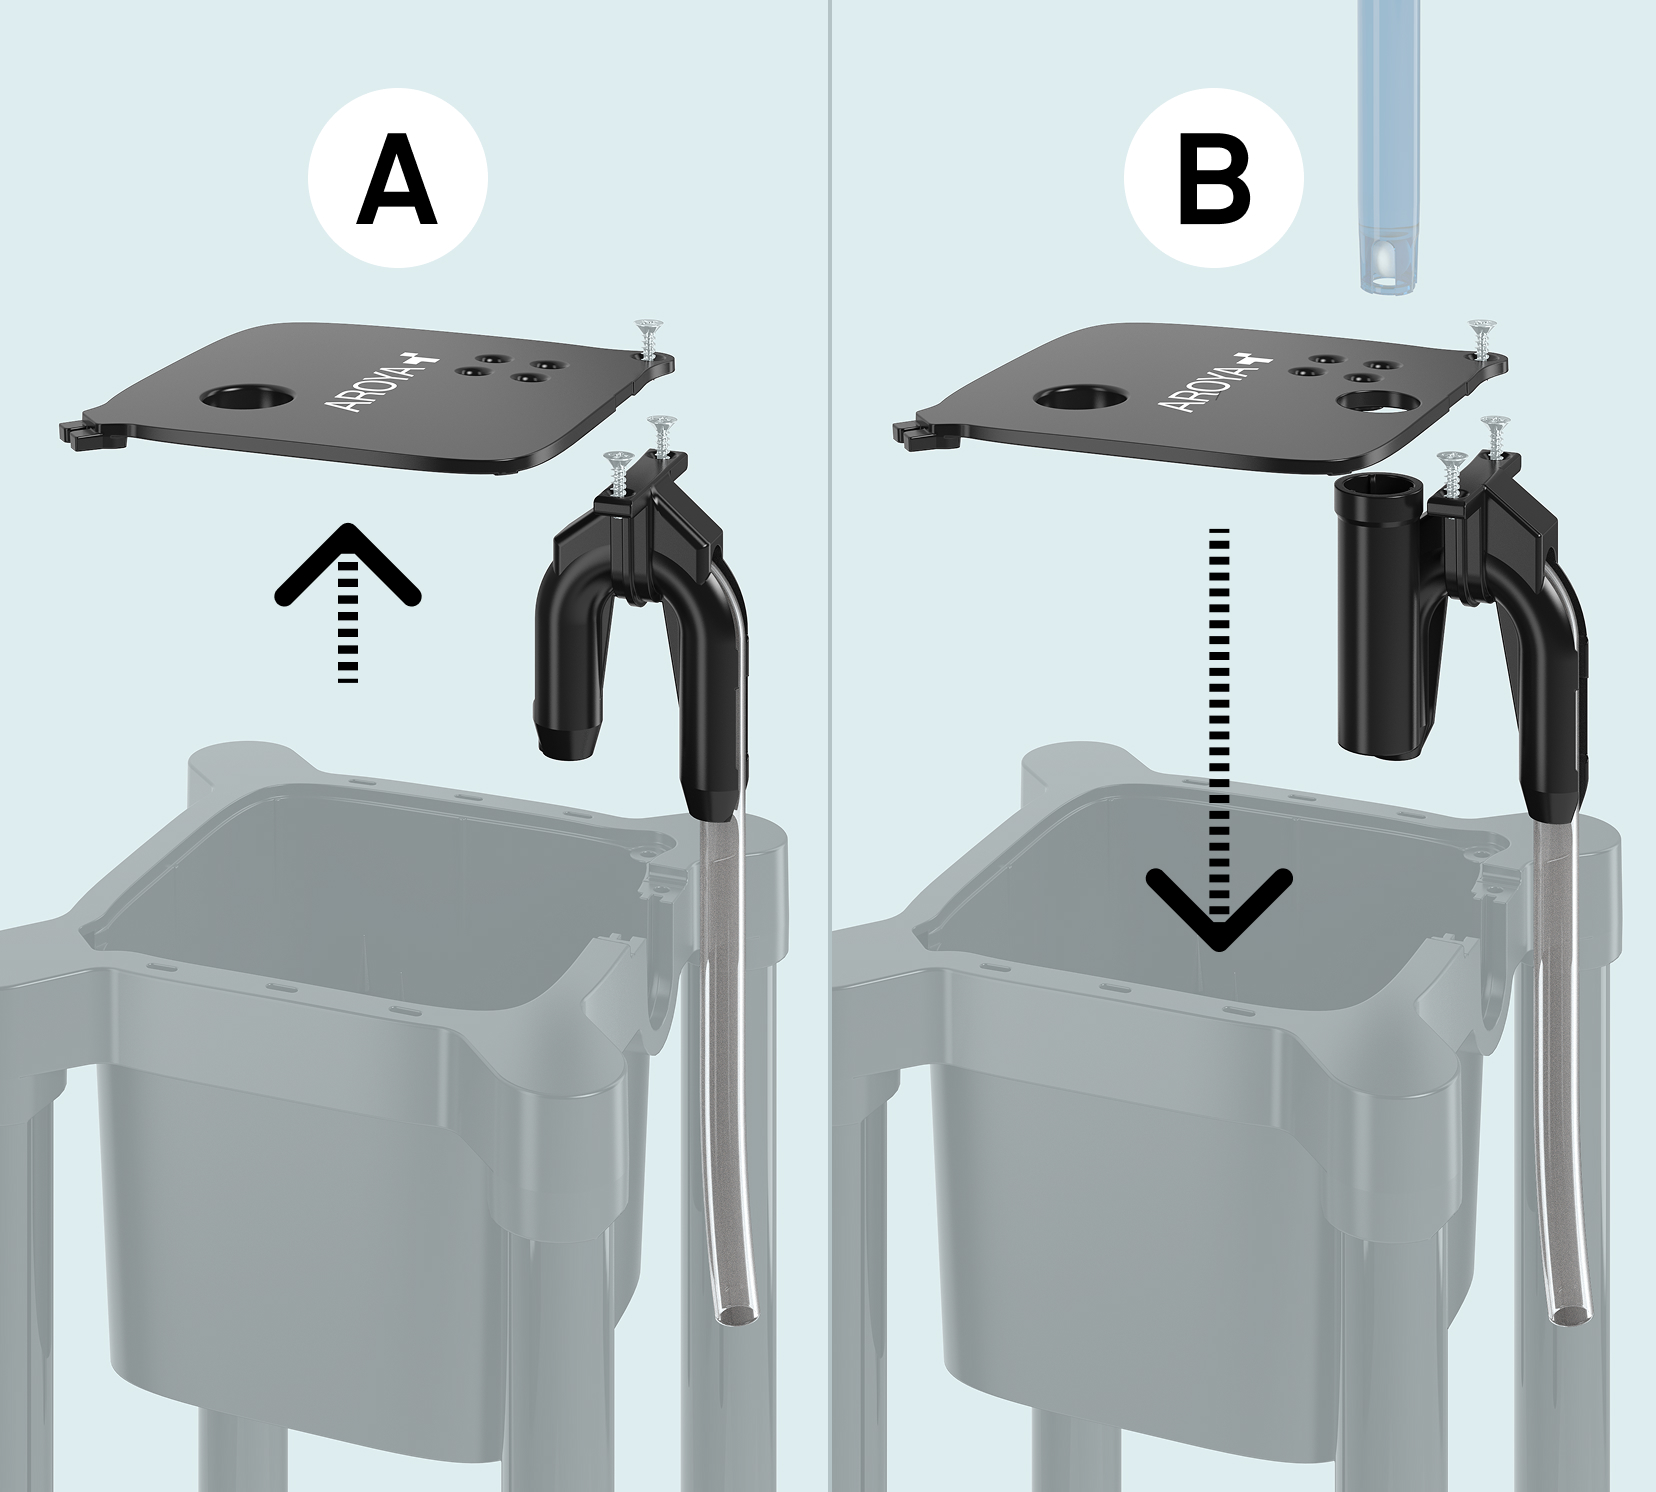
A. Remove the station lid. (On some versions, you must first remove a corner screw).Clean the cup if necessary.
B. Install the new pH-compatible lid and siphon. Reinstall the drip line if your setup uses one.
Step 2: Place the pH Sensor
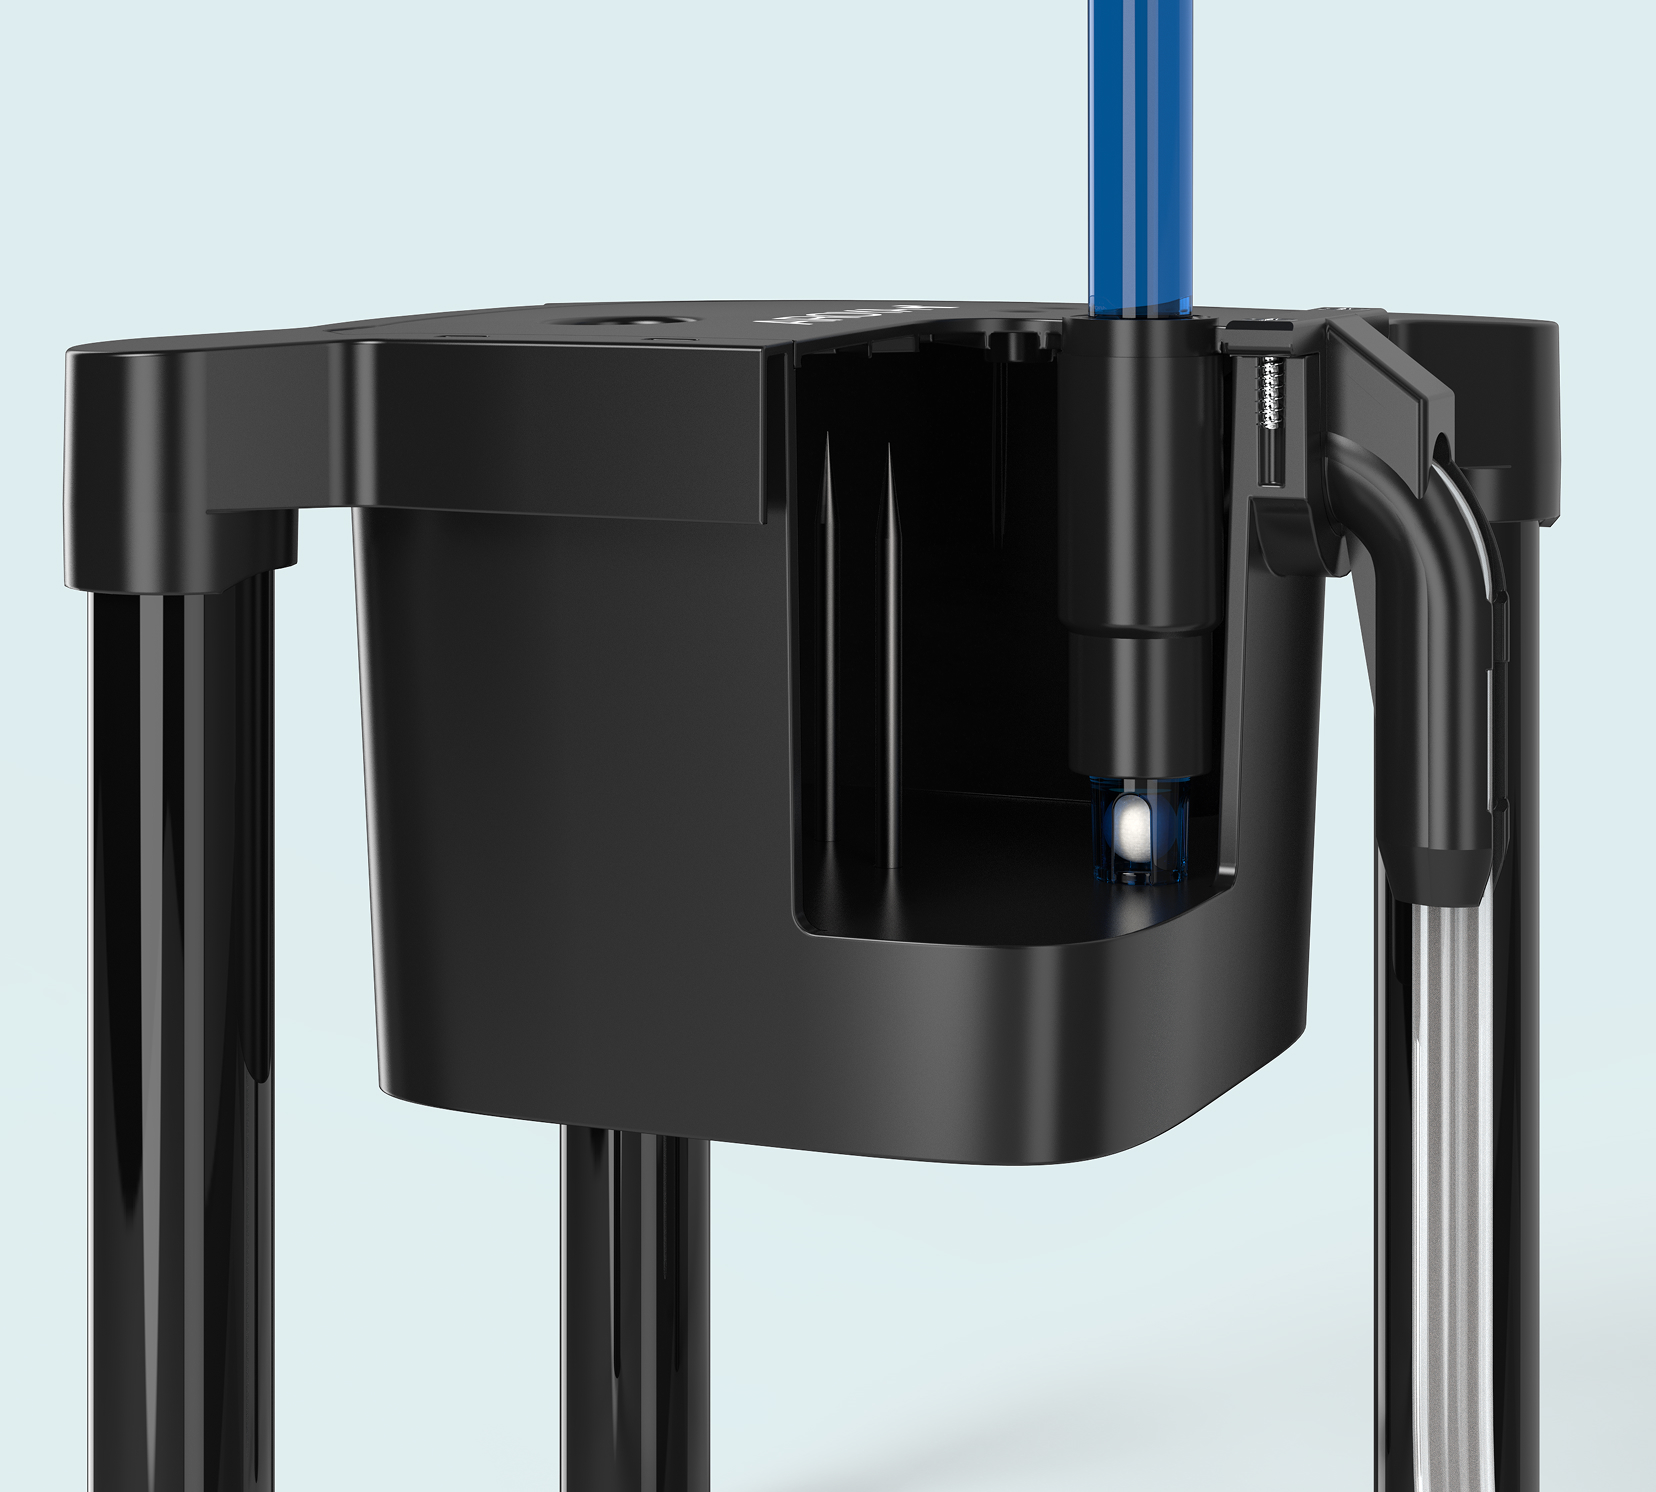
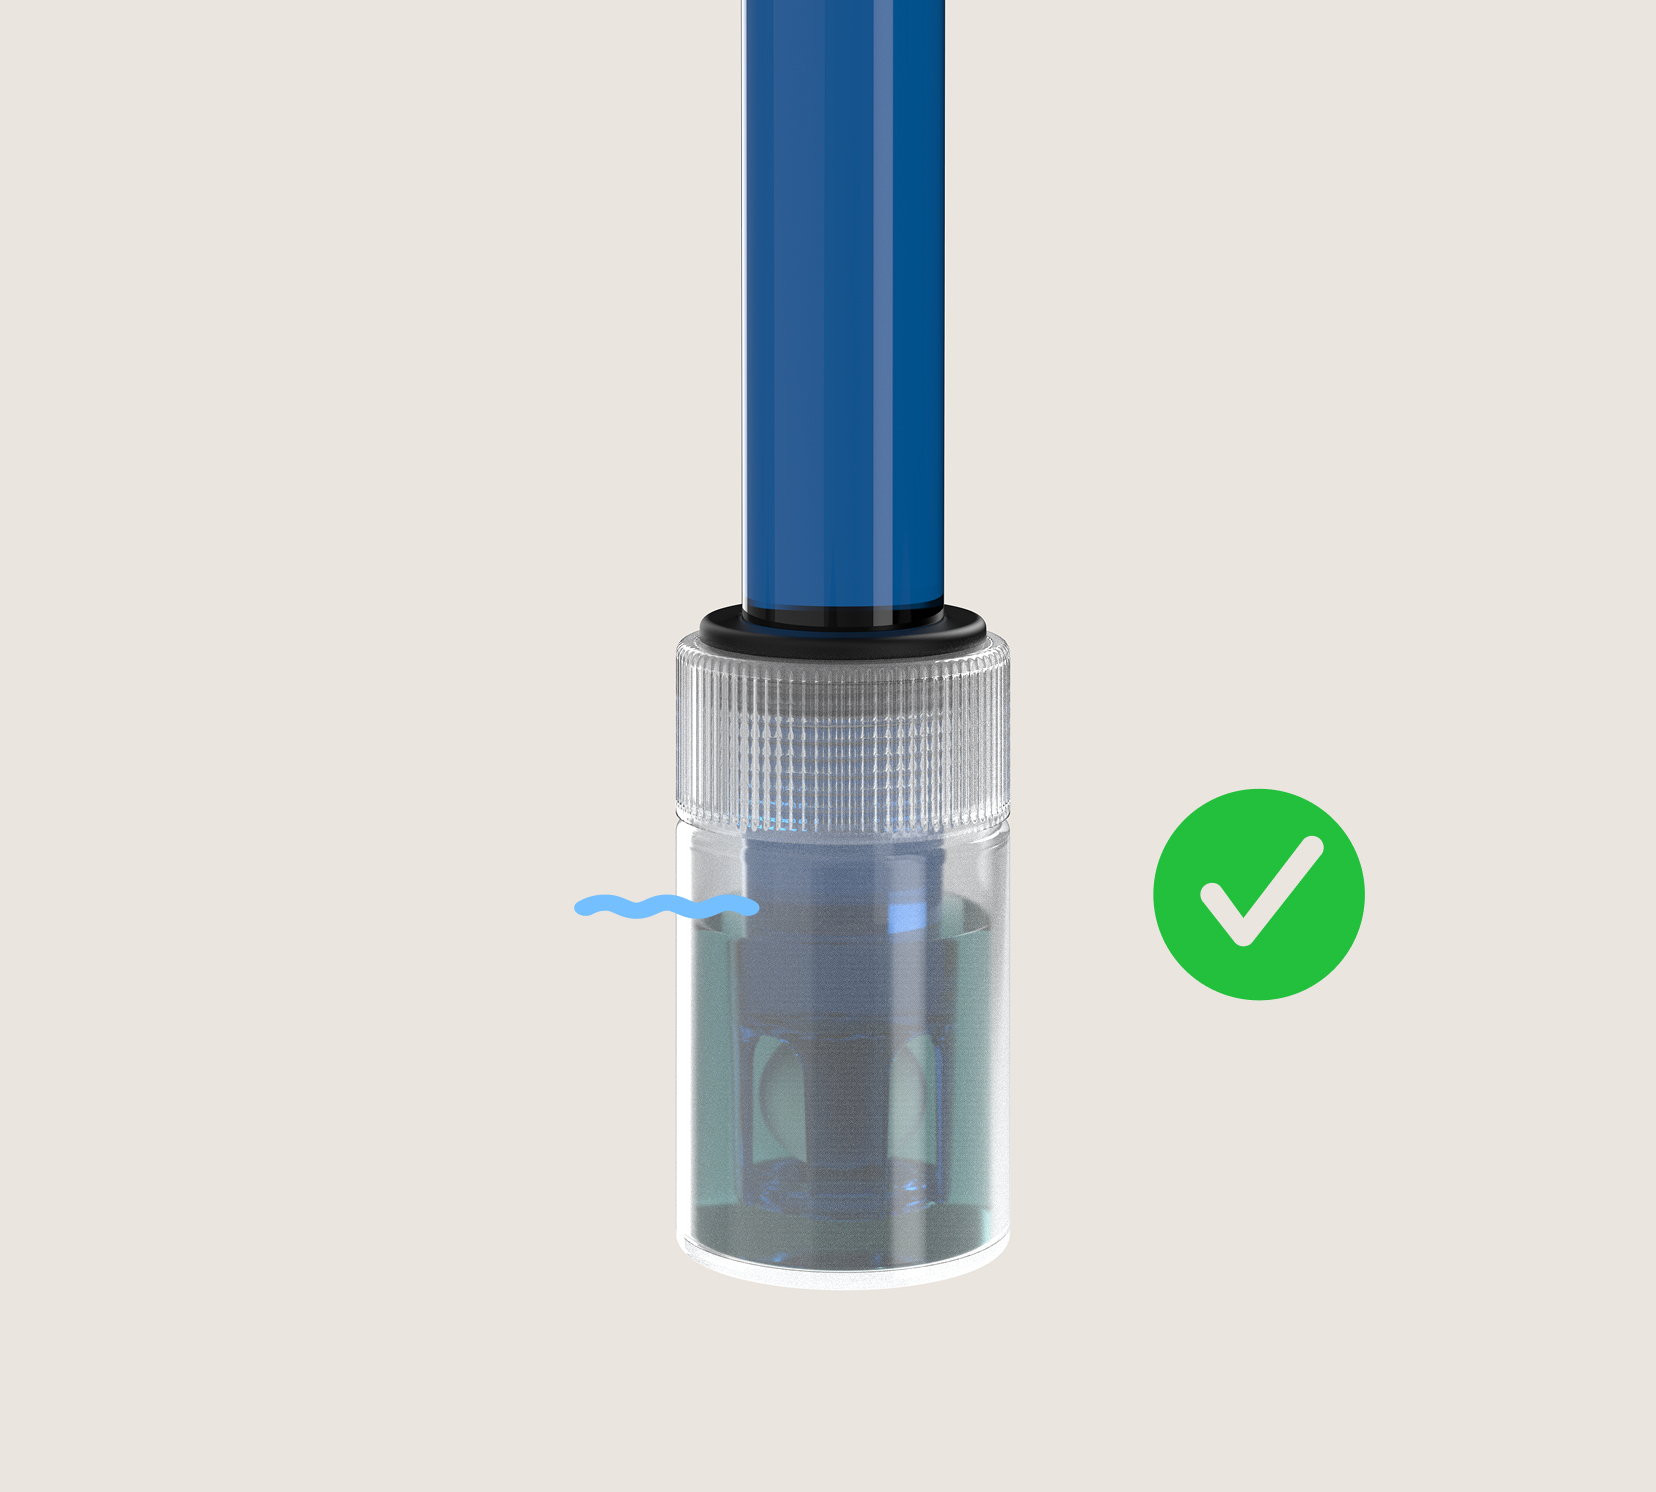
Insert the pH sensor until it reaches the bottom of the cup. The sensor tip must remain partially submerged at all times to function correctly.
Ensure the sensor tip is partially submerged in irrigation water within 24 hours of installation. (Note: Drain stations may take longer to fill).
Step 3: Scan QR + Assign
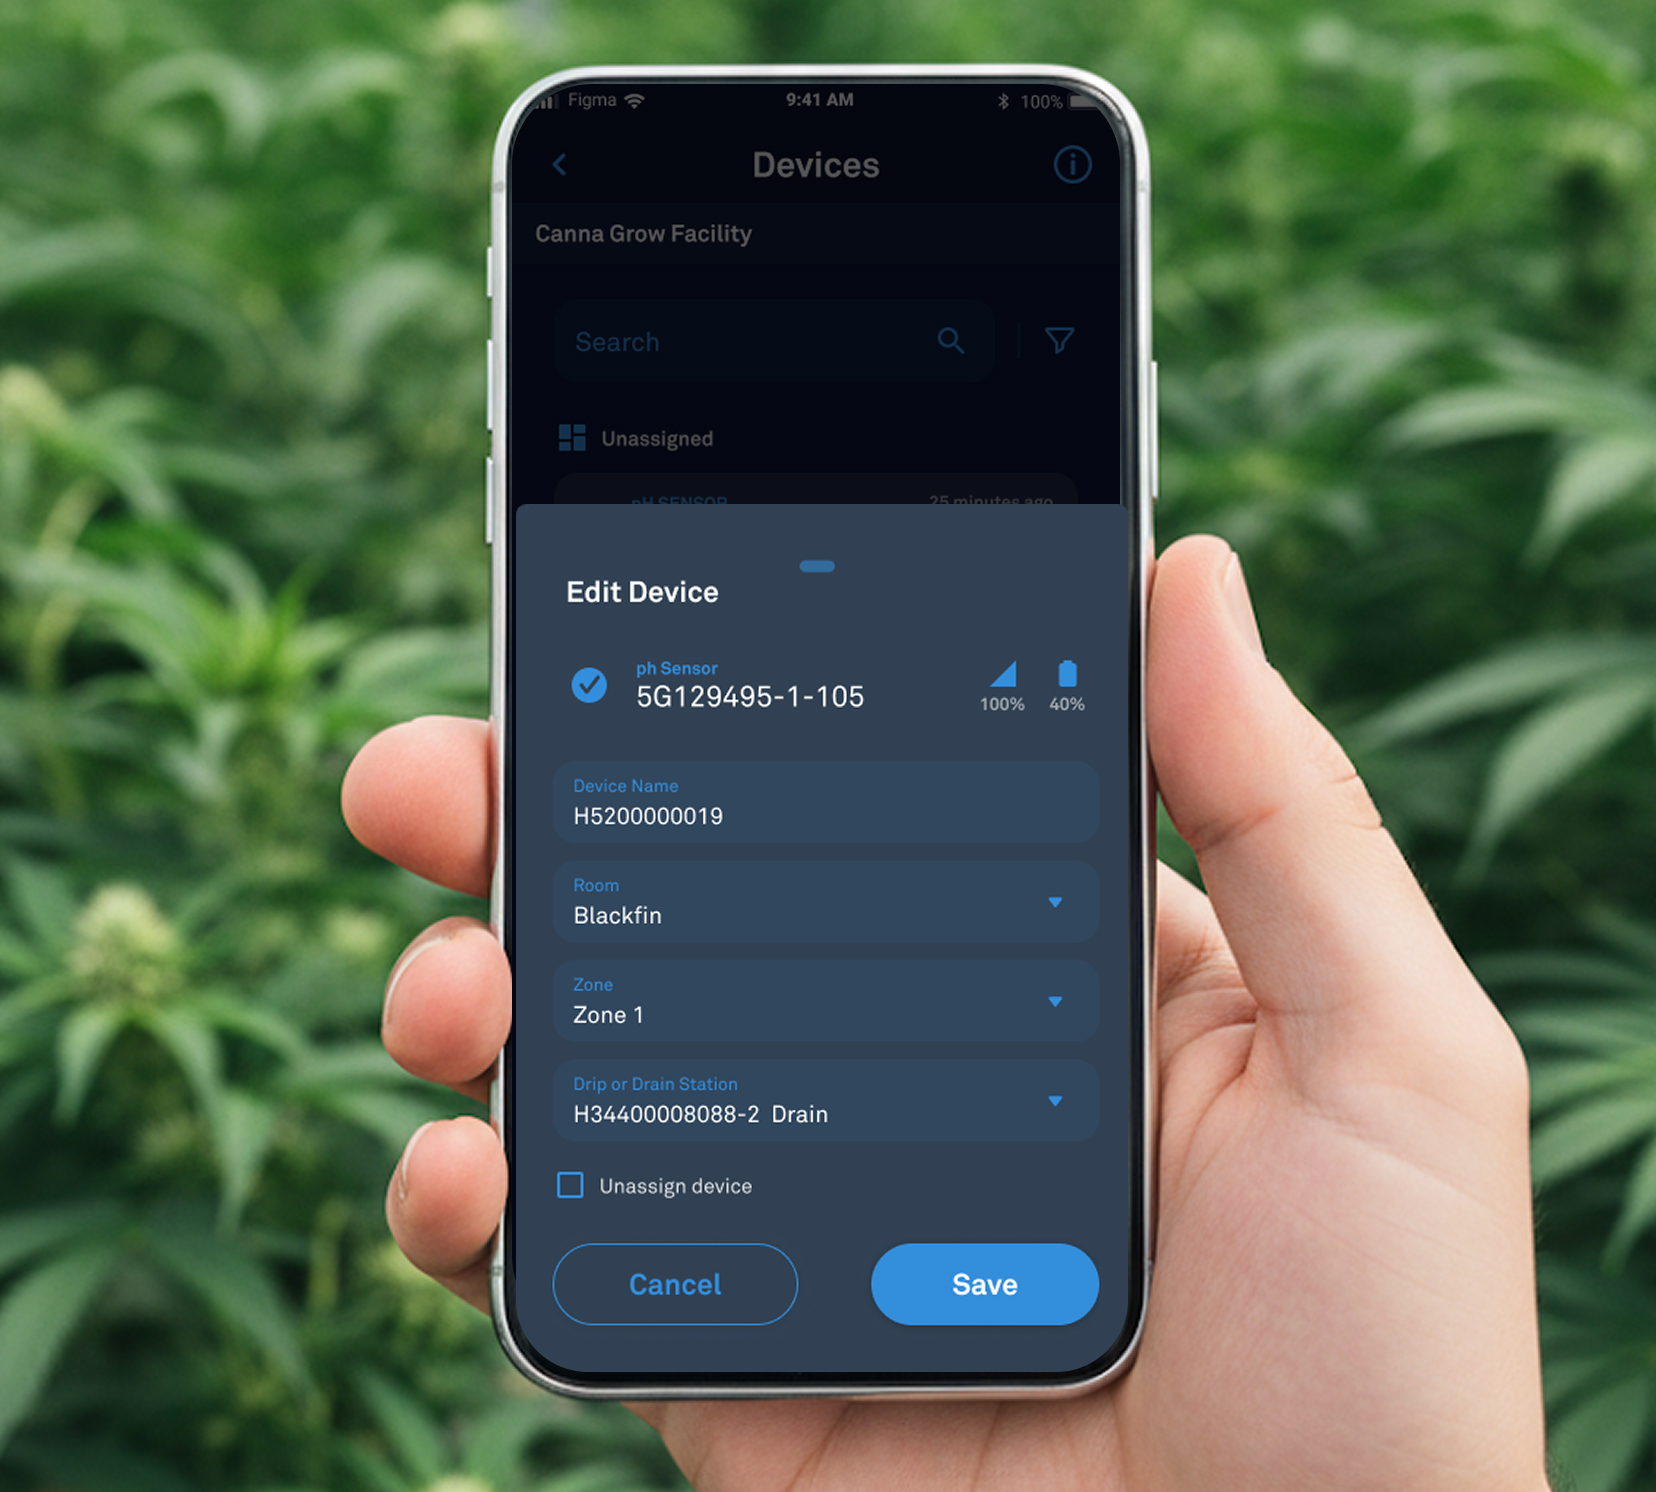
Open the QR code scanner and assign the pH Sensor to a specific zone. If a Drip & Drain station is already present in that zone, the app will select it automatically; you simply need to designate the sensor for Drip or Drain. If no station is selected, the pH sensor will operate as a standalone device.
How to store the pH sensor
Storage solution is available online. A pH Sensor is recommended to be stored in a storage solution. Keep it always at hand. It is available at store.addium.io